Serial Access for R8000/AC3200 (and other) Routers
Tools
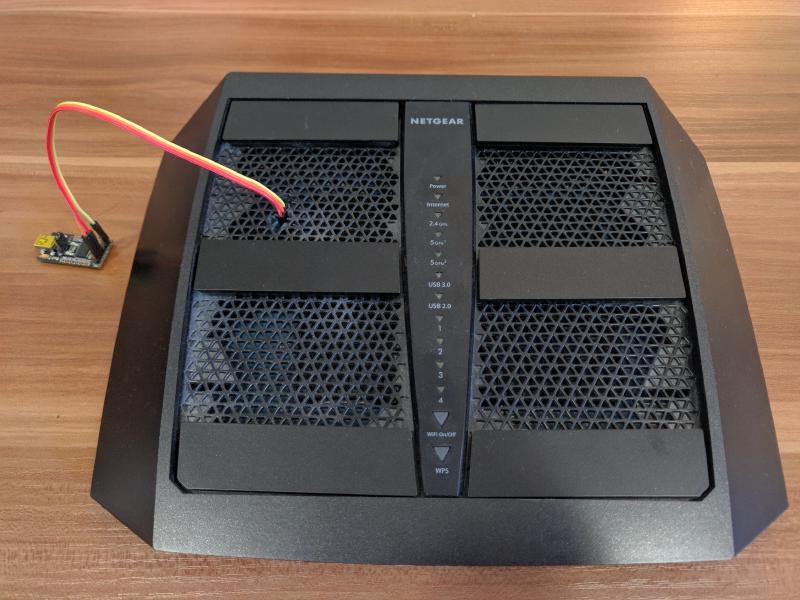
The main thing you need is a setup that has usb on one end (for the computer), and standard serial pins (at least RX, TX, ground) on the other end. Important: the serial side needs to be at 3.3v, and usb operates at 5v, so make sure you have a level shifter in there somewhere. I believe there’s some cables that have this all in one package, but I ended up using this breakout board which I purchased from Fry’s. Anything that mentions USB to TTL, and 3.3V should work fine though. If you use a board like this you’ll also need some wires and possibly a soldering iron (though tape or extra hands work just fine for a temporary unbricking setup).
Getting to the pins (R8000 specific)
- Remove the torx screws on the bottom and back, including the one hidden under the bottom label (no turning back after the label is broken, if you care about warranty!)
- Flip the router over, remove the bottom cover, and detach the antennas (6 colored wires), which should look something like this.
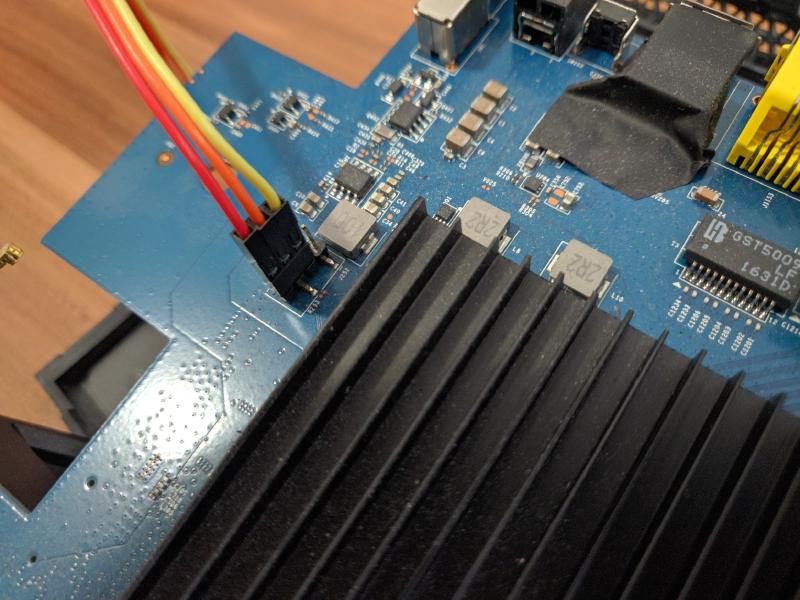
- There’s still a ribbon cable attaching the main board to the rest of the router, but it’s long enough that the board can be flipped over without disconnecting it, like this. The serial pins are now accessible (top left in the prior image).
Pin layout
Computer stuff
On the computer end, any serial program like PuTTY or minicom will work. Find and select the usb device via something like device manager or dmesg, set baud rate to 115200, and everything else should pretty much be defaults. With everything connected, you should be able to see a stream of text output whenever the router boots. If you don’t, you can verify your setup by disconnecting from the router and shorting between RX and TX, and making sure any typed text is echoed back.
Commands
To get to a command prompt, reboot the router and mash Ctrl-C a bunch as it starts up.
Pretty much the only command I use is nvram erase, which resets router settings, and has generally resolved any boot issues I’ve encountered. You can also apply and transfer new firmware over telnet for more serious problems, and do a whole bunch of other things, but I’ll leave those for other sites to cover, at least until I cause more problems and need to figure those things out for myself.