NCASE M1 SFFPC Build
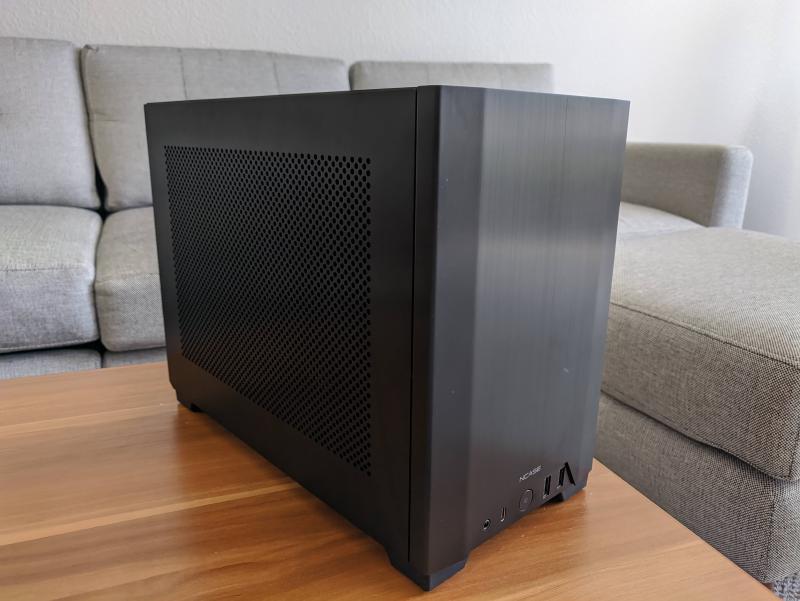
Case Choice
SFFPCs are starting to become more mainstream, but there’s still a limited selection compared to larger cases, and they often come with much higher prices, long delivery times, and/or limited component compatibility. The NCASE M1 was originally crowdfunded back in 2013, and was a big part of defining the genre. Today, there’s many cases that are comparable or better in many regards - the NR200, Dan A4, Sliger 550/560, and Formd T1 being some of the top contenders I considered. Beyond small size, I also prioritize low noise at idle, and ease of maintenance, so this ruled out both custom and aio water cooling loops. The NCASE M1 ended up as a top choice because while it’s not the smallest, it has great component compatibility and cooling options, was easily available, and has numerous guides and tips on optimal configuration.
Components
I transferred over an EVGA RTX 2080 from my old machine, but everything else was new. Based on looking at others’ recent builds, I ended up with this parts list.
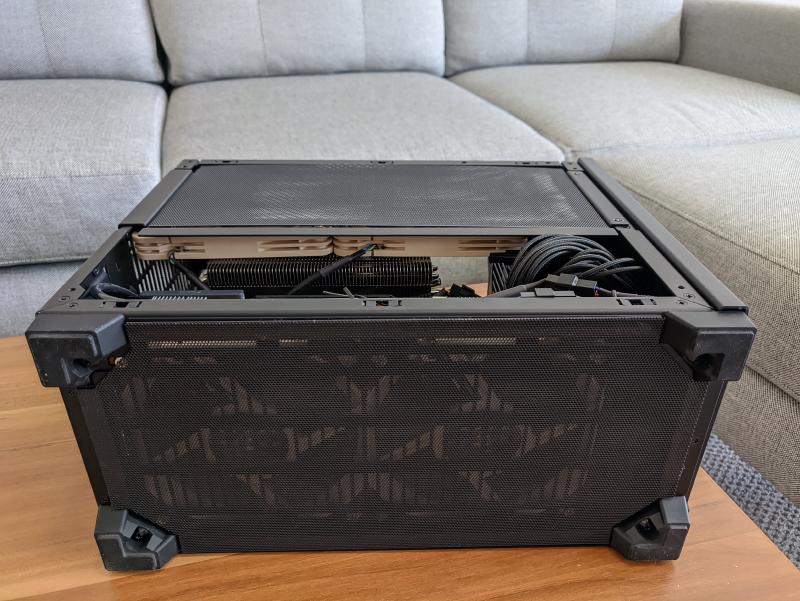
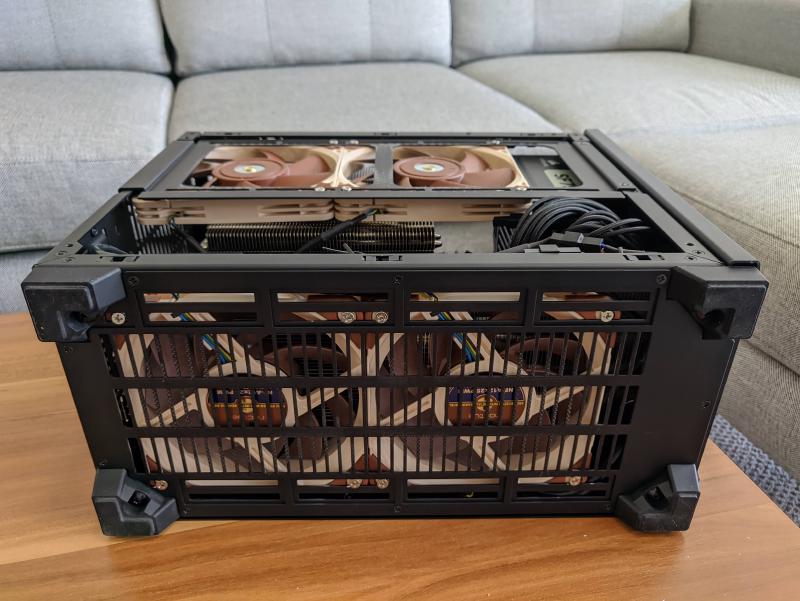
CPU/Case Cooling
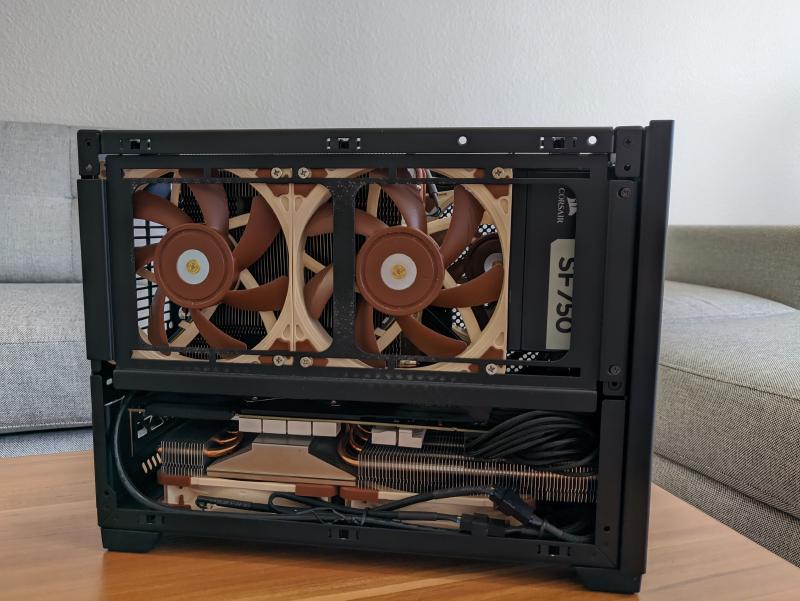
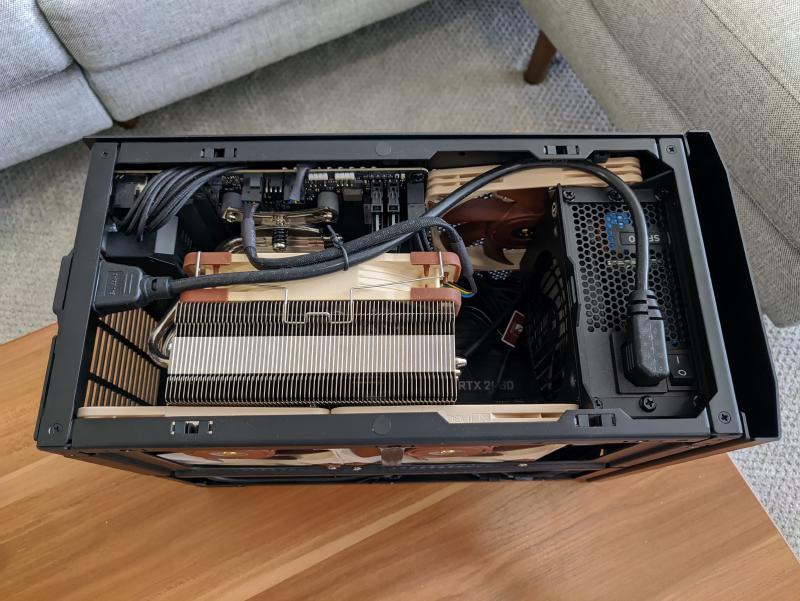
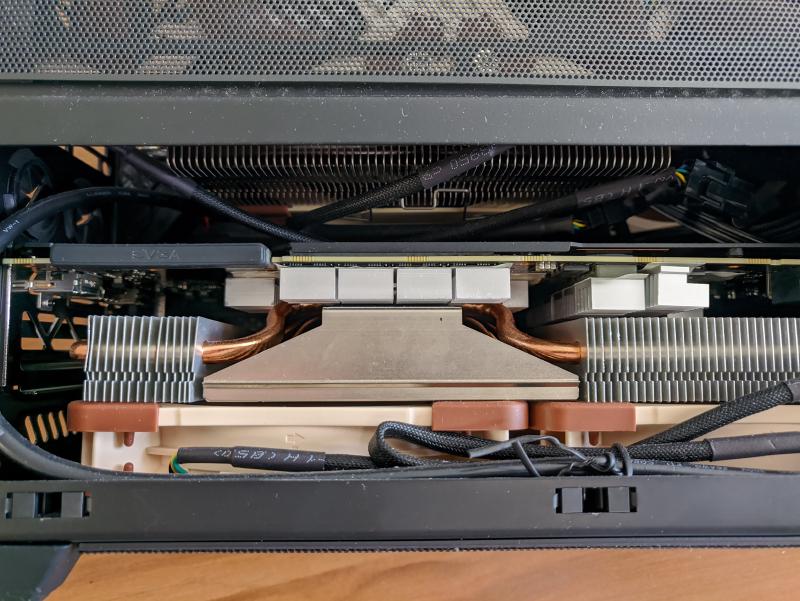
GPU Cooling
For GPU cooling, I found the stock EVGA cooler to be quite loud and hot under load. Deshrouding is a popular option to improve GPU cooling, and involves removing stock GPU cooler fans and replacing them with more efficient/quieter fans. My 2080 was a slim 2-slot model though, and deshrouding works best with a larger heatsink. I purchased an Arctic Accelero Xtreme 3 aftermarket cooler, and instead mounted that, and then deshrouded it. This involved (very scarily) popping off the stock heatsink, applying thermal pads and small heatsinks to the smaller individual GPU components, then applying thermal paste and mounting the main heatsink. Conveniently, the Accelero’s heatsink is exactly the right dimensions such that it will sit directly on top of the 25 mm bottom case fans. These bottom fans are set to exhaust as well, which performs much better than the default cooler’s intake. With a 3-pin-to-4-pin converter, the GPU can control these case fans as well.
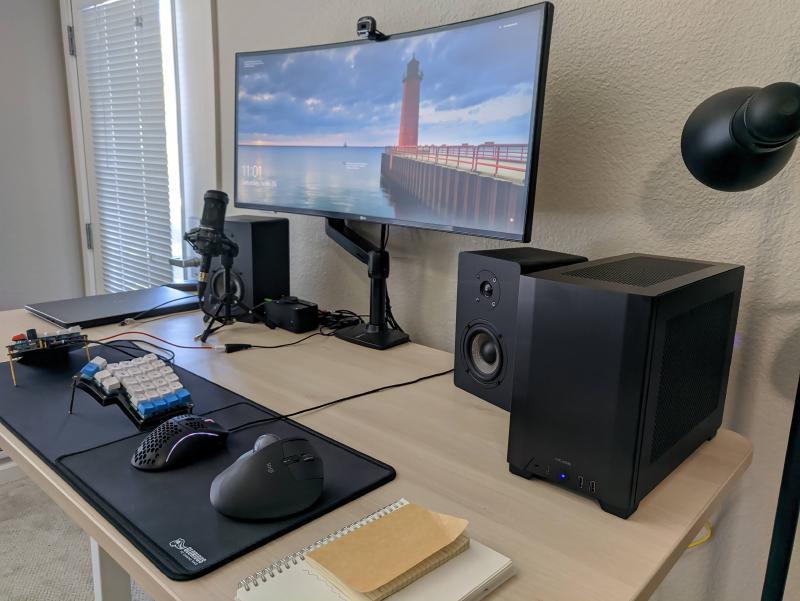
Performance
With the GPU undervolted, and some tuned fan curves in the BIOS, the case is silent on idle, and still reasonable under full load. Since all the airflow is directed in one direction, dust isn’t as much of a problem as with my old case either - plus the NCASE has convenient magnetic dust filters.